|
|
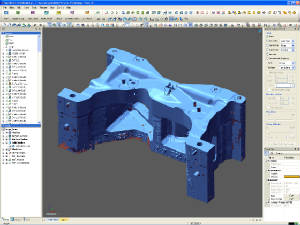
For times when you have old or new tooling, but no engineering
data, you may want to archive white light scan data until it is needed for future use. This can alleviate problems arising
from broken details or to determine wear surfaces on the detail. The point cloud data can be used at a later time to either
create a solid 3D parametric CAD model or to overlay to a new scan of the same detail to derive the amount of tooling wear. A new casting was desired to incorporate engineering changes
within the following 6 months. We
scanned the casting to archive the original shape. (Click picture to enlarge)
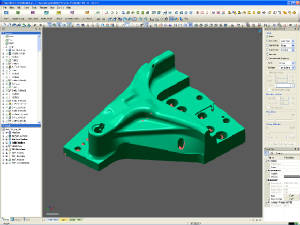
No engineering data existed for this detail. We scanned
the piece and archived |
Reverse Engineering | Troubleshoot Tooling | Work Holding Solutions | Part Inspection | 1st Article Inspection
Thank you for visiting our website!

