|
|
One of the great advantages of white light digital scanning is
that you capture the whole part. Unlike a CMM inspection, digital scanning captures literally thousands of points.
When this is applied to part inspection, it gives the most detailed analysis possible. With Rapidform XOV inspection
software, we can give you an accurate report which can include cross sections, GD&T dimensioning, space point checks,
part edge analysis, etc..... Free Rapidform Explorer viewer software is available by using the download path on our
"Links" page. Using this viewer software allows you 3D, rotational and interactive viewing of an XOV inspection
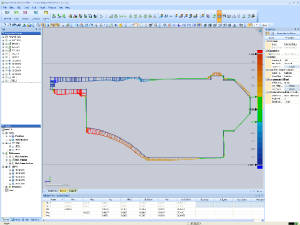
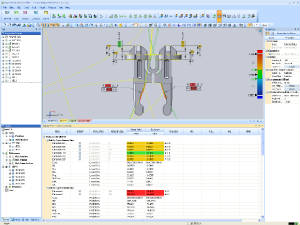
file. This part had an issue with excessive shrinkage
in a few areas. We scanned the part and overlayed it to the CAD data. Using Rapidform XOV, sections were cut along
with checking some critical dimensions. This data was then used to make necessary changes to the part so it would work
better with its mating piece. (Click on images to enlarge)
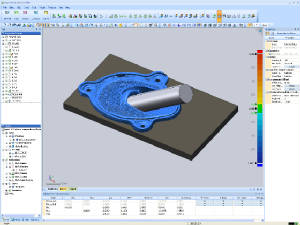
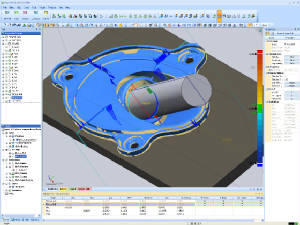
A concentricity check was needed between a drive
shaft bushing and its test fixture. We scanned the parts and the fixture separately. The scans were then aligned
using the mounting holes and planar mounting surface. We could then check the concentricity of the drive shaft to the
bushing in Rapidform XOV. (Click on images to enlarge)
|
Archiving | Reverse Engineering | Troubleshoot Tooling | Work Holding Solutions | 1st Article Inspection
Thank you for visiting our website!


